
Hello world! In this blog post, I’m taking a quick break from the usual mobile-menagerie to play around with Azure Blob Storage to host a webpage. The motivation? host a CMS-backed Single Page Application simple inexpensively as a static website. For this post, we’ll assume a local, running version of a website has already been established and we only need to configure the deployment & hosting solution. Let’s take a look:
Setting Up Azure Storage
First, let’s set up where our static website will be hosted. Navigate to https://portal.azure.com/ and sign in to your account (there are free trial versions available if you don’t have an account already) and navigate to your Storage Accounts or select Create Storage Account from the new resource panel. Keep in mind there are various ways to do this and Azure changes frequently, so your screen may appear slightly different than mine, below:

Once we have the create storage account wizard, we can fill out some basic details to establish our new storage. We’ll need to select options for the associated subscription & resource group (either existing or create new) as well as an account name, which can be anything you like:
 Great! For most cases, you can click through the remaining wizard steps, unless you have specific needs for your static website. Once we finish the wizard and Create the new resource, Azure will spin for a few moments while our storage account is allocated.
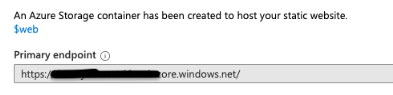
When that’s done, navigate to the new storage account and locate the side-bar option for Static Website. By default, this option is disabled, so let’s go ahead and toggle the selector to enable it and add our expected Index document name. Once you save changes, you should now see a primary and secondary endpoint auto-filled for you to use.

That’s all we need on the Azure Portal for now – let’s see what’s next for Azure Dev Ops.
Setting Up Azure Build Pipeline
Now that we have a place to host our static website, we need to deploy code to it. For the purposes of this demo, let’s assume we have a simple Gatsby app that is backed by a contentful headless CMS. Furthermore, our code will be hosted on some kind of source control that allows for “checks” when a developer submits a pull request destined for master.
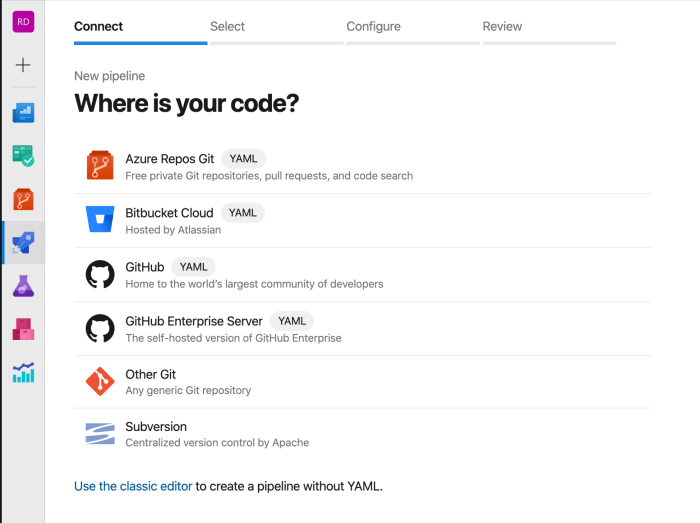
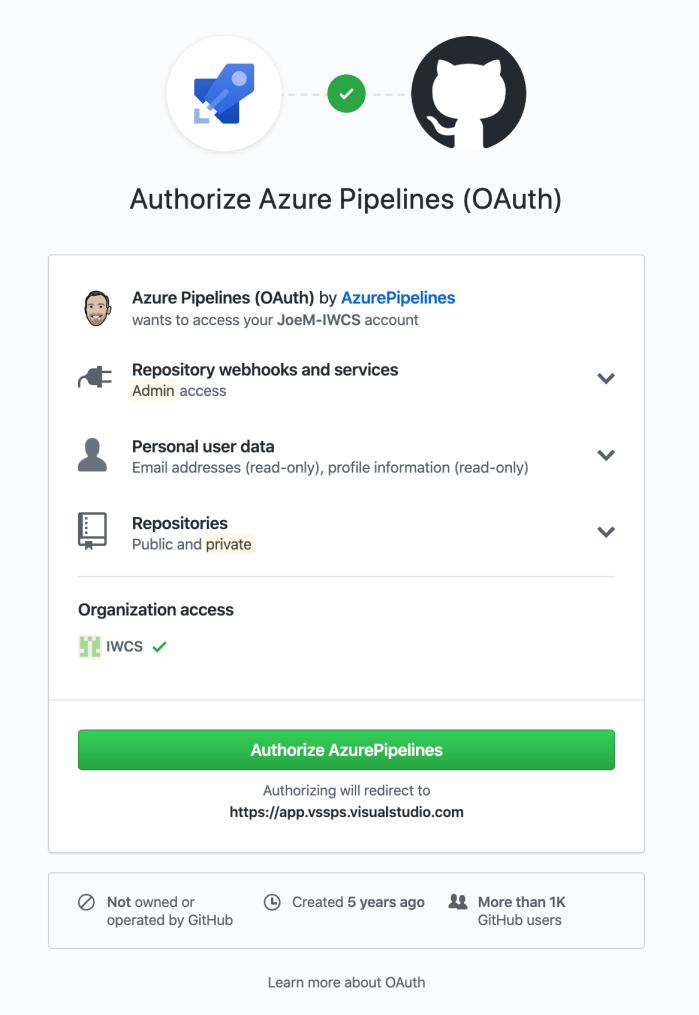
This could be directly in Azure Dev Ops, or in some other provider such as GitHub as demonstrated in the above screenshot (which I will do here for the sake of rigor). In the case of the latter, there will be a brief authorization set, followed by a prompt to select a specific repo:
Next, we’ll select the type of template we want. Since we’re using Gatsby, which is based on React, the React option will yield a good place for us to start.
At this point we can save and run the pipeline, or select simply “save” from the dropdown since our build is likely to fail at this point anyway; we’ll need to make some modifications before everything is all set up. If we go back to the Pipelines tab, we’ll see our new template as well as an edit button to modify it to suit our needs.
Once we open the editor, we can replace the default code with something tailored. Below is the build steps I used specifically for a Gatsby webpage:
This file contains hidden or bidirectional Unicode text that may be interpreted or compiled differently than what appears below. To review, open the file in an editor that reveals hidden Unicode characters.
Learn more about bidirectional Unicode characters
| # Node.js with React | |
| # Build a Node.js project that uses React. | |
| # Add steps that analyze code, save build artifacts, deploy, and more: | |
| # https://docs.microsoft.com/azure/devops/pipelines/languages/javascript | |
| trigger: | |
| – master | |
| pool: | |
| vmImage: 'ubuntu-latest' | |
| steps: | |
| – task: NodeTool@0 | |
| inputs: | |
| versionSpec: '10.x' | |
| displayName: 'Install Node.js' | |
| – script: | | |
| npm install | |
| CI=true npm run build | |
| displayName: 'gatsby build' | |
| – task: PublishBuildArtifacts@1 | |
| inputs: | |
| PathtoPublish: 'public' # public is the name of the default build output folder | |
| ArtifactName: 'src/public' # this can be called anything you like | |
| publishLocation: 'Container' |
Notice that there are only a few slight modifications we need to make. First, we add a script step after the standard node install that allows us to run our build command. Keep in mind that this will be looking at the scripts section in our project package.json file:
This file contains hidden or bidirectional Unicode text that may be interpreted or compiled differently than what appears below. To review, open the file in an editor that reveals hidden Unicode characters.
Learn more about bidirectional Unicode characters
| "scripts": { | |
| "build": "gatsby build", | |
| "develop": "gatsby develop", | |
| "format": "prettier –write \"**/*.{js,jsx,json,md}\"", | |
| "start": "npm run develop", | |
| "serve": "gatsby serve", | |
| "test": "npm run type-check && echo \"Write tests! -> https://gatsby.dev/unit-testing \"", | |
| "type-check": "tsc", | |
| "lint": "eslint –ignore-path .gitignore 'src/**/*.{js,jsx,ts,tsx}'", | |
| "lint:fix": "npm run lint –fix" | |
| }, |
So, in this case “build” executes gatsby build whereas the default build script for react projects is react-scripts build. Lastly, we need to modify the PublishBuildArtifacts step to correctly archive our output folder. For a vanilla react project, this would juts be the build folder, but we need to point it to public, which is the default output folder for Gatsby builds.
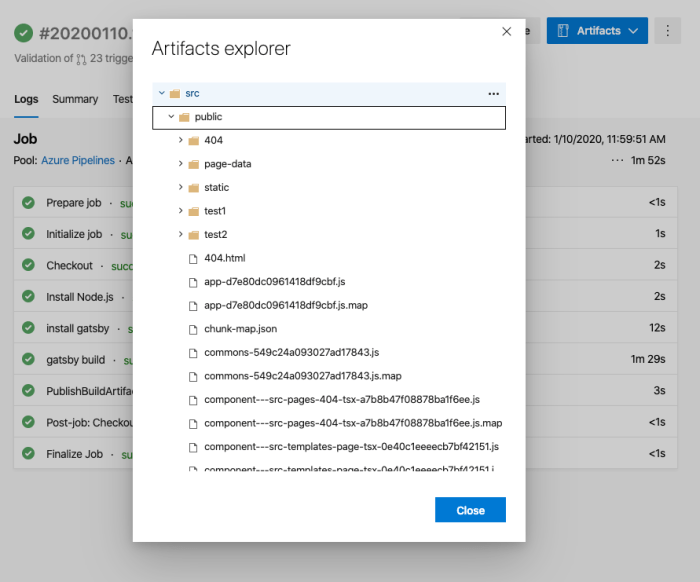
We should be all set here – if we execute a test build now, we should get a green check mark and a properly archived build output. You can verify by using the Artifacts Explorer once your build completes. Assuming everything looks good (and it should – have I ever steered you wrong? 🙃), we can move on to publishing our work to our storage via a Release Pipeline
Setting Up Azure Release Pipeline
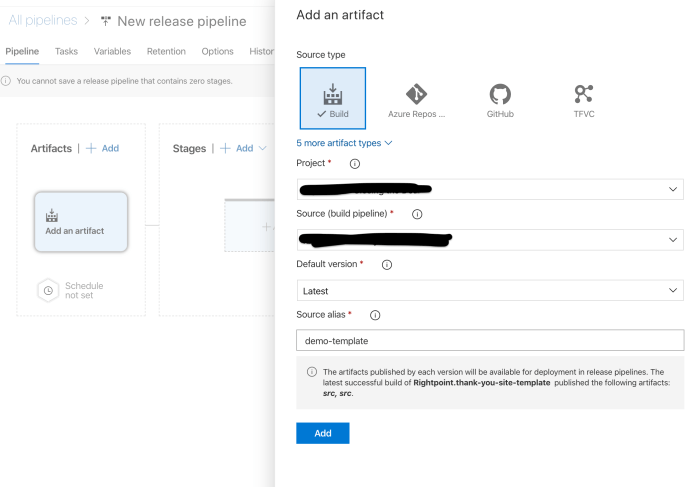
We can now create a new Release from the option just below Builds in the pipelines menu. Let’s start by adding an artifact for the output of our build pipeline by referencing the same Project and Source (build pipeline) we set up previously.
Now, we can establish the various stages to deploy to. For this simple example, we’ll only create one stage, but we can call it “DEV” should we want other environments in the future. Clicking the plus sign on the stages section will open a wizard that recommends some starter templates. Since we wimple need to copy our static build output to the root directory of our blob storage, we can search for the Azure file copy template to start us out.

Now, we juts need to plug in the information from our prior setup:

Keep in mind; if the Source doesn’t look quite right, you can use the three dots button to the left of the input field to quickly browse artifacts and select the appropriate one. Also note that we’ll need to specify the Container name. It needs to align with the destination for our static webpage from our blob storage, so be sure to enter $web
Bringing It All Together
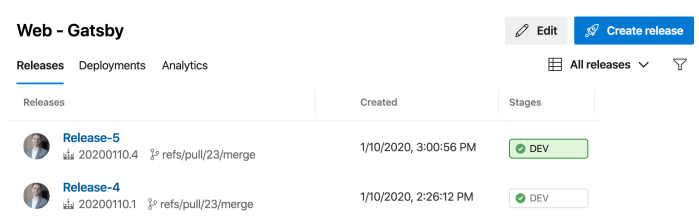
That’s about it – since we’ve already built artifacts, all that’s left is to release them via our new pipeline. Either select our new definition & click “Create release” and follow the instructions to publish or find the build artifact you want to publish from the Builds section and select release from the context menu – once you see a green check for the environment, you can browse your static webpage from the primary (or secondary) URL specified when we were creating our blob storage.
That’s all folks! We’ve created a simple, static webpage hosted in Azure Blob Storage for pennies per month. Enjoy! 🎉

You must be logged in to post a comment.